
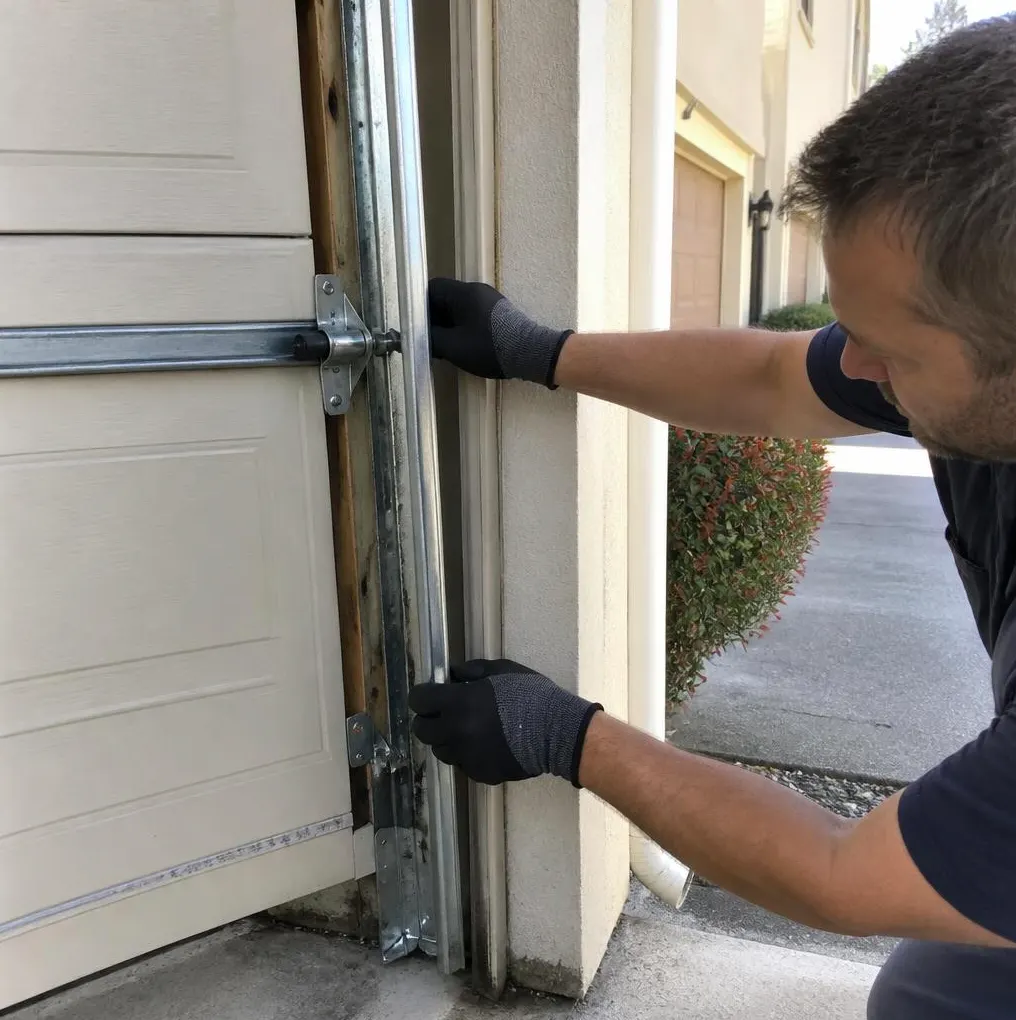
Start With the Daylight Test
If you can stand inside your closed garage and see daylight along the bottom edge of the door, your seal needs to be replaced. That's the rule of thumb, and for most homeowners it's really that simple. The exceptions are worth knowing too: a seal that's cracked, flattened, or hardened but still blocking light; a seal that looks fine but you're still getting water, leaves, or mice getting in; or a door that won't sit flush no matter what seal you put under it. Those last two usually point to a bigger issue than the rubber strip itself, which we'll get to below.
Why This Matters More Once the Weather Turns
Older homes throughout Westchester County often still have their original garage doors, and the bottom seal is usually the first weatherstripping to fail because it takes the most abuse: road salt, melting snow, ice, and direct ground contact all season long. Once that seal cracks or flattens, you get cold drafts into an attached garage, water pooling along the slab during freeze-thaw cycles, and an open invitation for mice and insects looking for shelter. A worn seal is also one of the more common reasons dust and debris collect along the garage floor even when the door looks closed properly.
Tools You'll Need
- Tape measure
- Utility knife
- Work gloves
- Flathead screwdriver or small pry bar
- Replacement bottom seal matched to your retainer track style (bulb/T-style, bead, or J-style)
- Mild soapy water or silicone spray lubricant
- Rubber mallet (for aluminum retainer tracks)
- Adhesive-backed foam or rubber weatherstripping for the side jambs and header, if you're replacing those too
Step-by-Step: Replacing the Bottom Seal
- Identify your seal type. Look at the aluminum or vinyl retainer channel running along the bottom of the door. Most residential doors use either a bulb-shaped (T-style) seal or a bead-style seal. Note the shape before you buy a replacement — they are not interchangeable.
- Measure for length and width. Measure the width of your door to know how much seal to buy, and check the retainer channel's width so the new seal actually fits the track.
- Close the door fully so the bottom section is easy to work on, and make sure the opener is disconnected or the door is otherwise secured so it can't move while you're working.
- Remove the old seal. Pull it out of the retainer track by hand. If it's brittle or hardened from age and salt exposure, you may need to cut it into sections with a utility knife to work it free.
- Clean the channel. Wipe out dirt, old adhesive, and grit so the new seal slides in cleanly.
- Feed in the new seal. Starting at one end, thread the bead or bulb edge into the retainer track. A little soapy water on the seal's edge makes this much easier and won't damage the material.
- Trim the ends. Once it's fully seated, trim both ends flush with a utility knife so nothing bunches up at the corners.
- Test it. Close the door and check for gaps, light, or give along the bottom edge. The seal should compress slightly against the floor without the door struggling to close.
Don't Forget the Side and Top Weatherstripping
While you're at it, check the stick-on weatherstripping along the door frame's sides and header — this is a separate piece from the bottom seal and tends to dry out, peel, or shrink over time, especially after a few humid summers followed by freezing winters. Peel off the old strip, clean the frame surface with soap and water, let it dry completely, and press the new adhesive-backed strip into place, trimming to length with a utility knife. This step alone can noticeably cut down on drafts and dust along the sides of the door.
What's DIY and What Needs a Technician
Replacing a standard bottom seal or stick-on frame weatherstripping is a reasonable weekend project for most homeowners — the parts are inexpensive, typically in the range of $15–$40 for a basic seal kit, and the tools are things most people already own.
Call a technician instead if any of the following apply:
- The door still doesn't sit flush against a new seal, which usually means the track is bent or the door itself has shifted out of alignment.
- The aluminum retainer channel is cracked, rusted through, or missing sections, which means the channel itself needs replacing, not just the seal.
- You're replacing seals repeatedly because the bottom panel is bowed or sagging.
- Fixing the seal would require adjusting cables, springs, or the opener's travel settings — these carry real injury risk and are not a DIY job.
When to Call Scarsdale Garage Door
If the daylight test fails after you've installed a new seal, or the door won't close flush no matter what you try, that's a sign of a track or alignment problem rather than a worn seal. Our Garage Door Repair service covers exactly that — realigning tracks, adjusting hardware, and making sure the door actually seats properly before a new seal can do its job. If it's just been a while since anyone's looked at the door itself, our Garage Door Maintenance visits include a check of seals, weatherstripping, hinges, and rollers so small issues like this get caught before the first hard freeze rather than during one.
If your garage door is letting in drafts, water, or more dust than it should this fall, give Scarsdale Garage Door a call — we serve homeowners throughout Scarsdale, NY and the surrounding Westchester County area and can have your door sealed up tight before winter arrives.